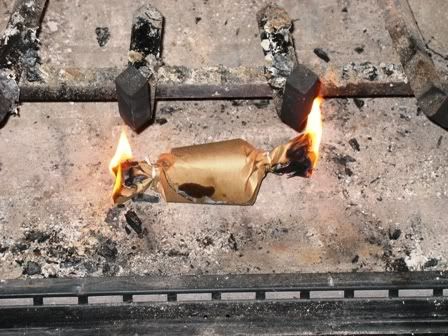
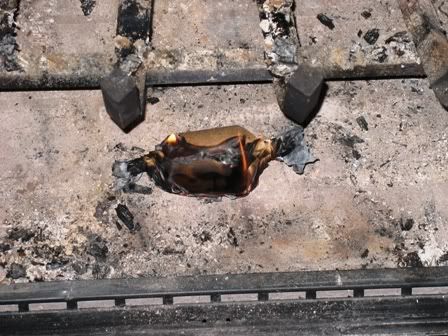
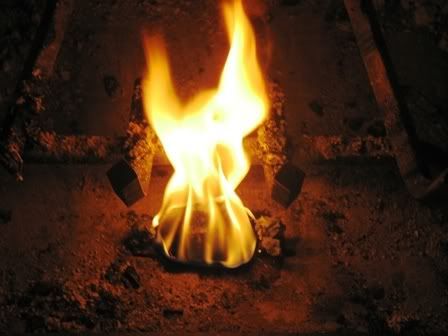
My husband and I were looking to make some fire starters. I found a site at Firestarters from Old Candle Wax and Sawdusthttp://lumberjocks.com/projects/3793 and I just loved the whole project so I am including it in my blog. We have tried this and they work perfectly. Thanks Tim.
SUPPLIES LIST:
- Wax (old candles work great)
- Sawdust
- Something to melt wax in (double-boiler method is best and safest)
- Something to mold them in (paper cups, paper egg carton, cupcake cups)
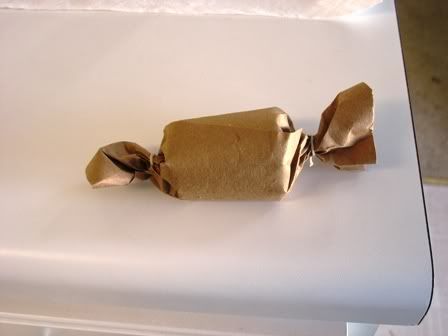
- Craft paper and string if you want to wrap them.
1) Here are the materials I used. Since my wife makes candles we’ve got plenty of wax around the house – I’m using a few melting tarts, an old jar candle and some various scraps. I also have a melting/pouring pot and some votive cup molds.

2) Next, it’s time to melt the wax. NOTE: Wax is flammable (duh…) so it’s best to use a double-boiler if possible. Otherwise use low heat and keep a close watch on the wax until it’s melted.

3) After the wax is fully melted it’s time to add the sawdust, mix enough in to make a heavy sludge. It should pretty thick when mixed together.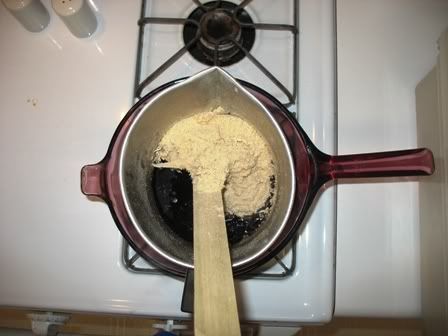
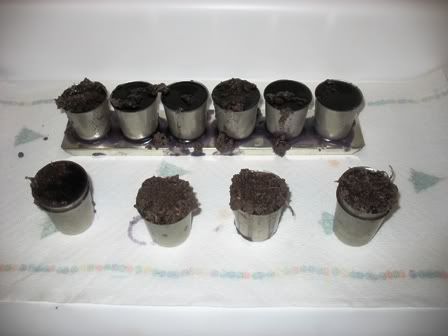
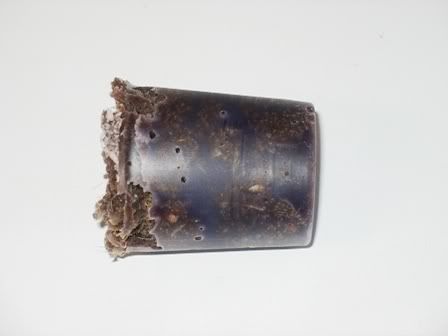
4) Now it’s time to mold the starters, simply pour or scoop them into whatever your molding into.
4 comments:
Wow that is the neatest thing I have seen in a while now... I have to e-mail to myself to remember it... Thanks for sharing it!!!
Just A Gal...
Hope all is will!!!
I have awarded you on my blog if you like you can visit and pick it up!
Have a wonderful day!
Just A Gal...
SO THATS HOW IT'S DONE,
HUGS FROM MAINE
http://sophie4me.blogspot.com/
What a great blog you have here :)
Post a Comment