I am sorry that I haven't been posting as much as I would like. I have been substituting for the school Secretary while she is on maternity leave and I just haven't had the time. I will try harder to be more consistant. Hope everyone had a great holiday and are looking forward to a great new year.
My husband and I were looking to make some fire starters. I found a site at
Firestarters from Old Candle Wax and Sawdusthttp://lumberjocks.com/projects/3793 and I just loved the whole project so I am including it in my blog. We have tried this and they work perfectly. Thanks Tim.
SUPPLIES LIST:
- Wax (old candles work great)
- Sawdust
- Something to melt wax in (double-boiler method is best and safest)
- Something to mold them in (paper cups, paper egg carton, cupcake cups)
- Craft paper and string if you want to wrap them.
1) Here are the materials I used. Since my wife makes candles we’ve got plenty of wax around the house – I’m using a few melting tarts, an old jar candle and some various scraps. I also have a melting/pouring pot and some votive cup molds.

2) Next, it’s time to melt the wax. NOTE: Wax is flammable (duh…) so it’s best to use a double-boiler if possible. Otherwise use low heat and keep a close watch on the wax until it’s melted.

3) After the wax is fully melted it’s time to add the sawdust, mix enough in to make a heavy sludge. It should pretty thick when mixed together.
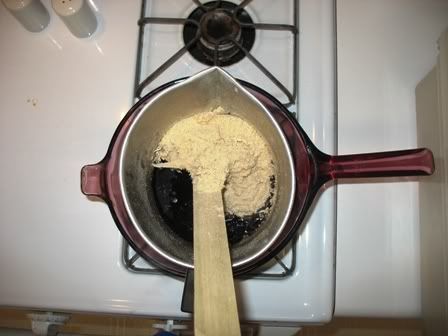
NOTE: Pouring these can be very messy, it’s probably best to let the mixture cool down some and thicken. Then when pouring you can use a spoon or stick to make the process a little neater. I prefer to have a lot of sawdust and enough wax to bind everything together.
4) Now it’s time to mold the starters, simply pour or scoop them into whatever your molding into.
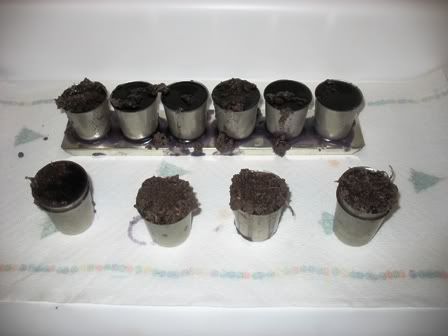
5) After a couple of hours these will setup, if you’
ve used a metal mold you can pop them out now – if they stick a little you can put them in the fridge for a few minutes and they should come right out.
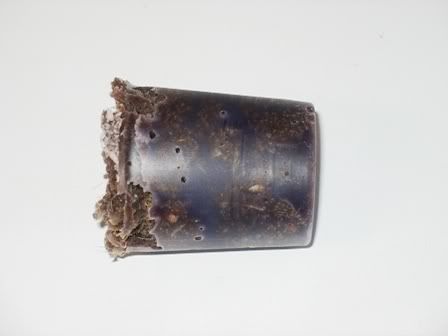
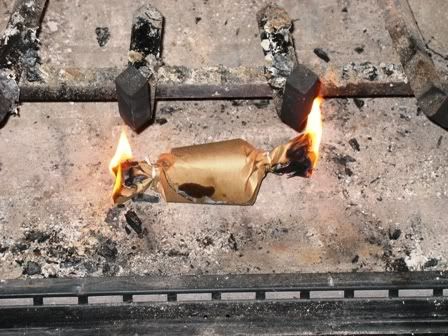
6) Now you can finish these if you want to. I like wrapping them in brown paper and tying the ends. You can stack these by the fire and they look nice.
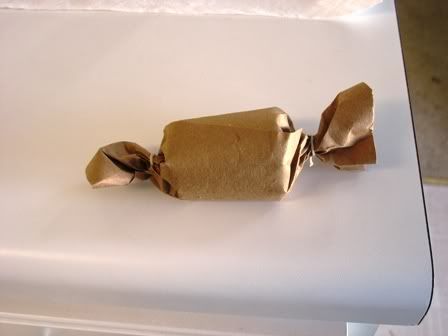
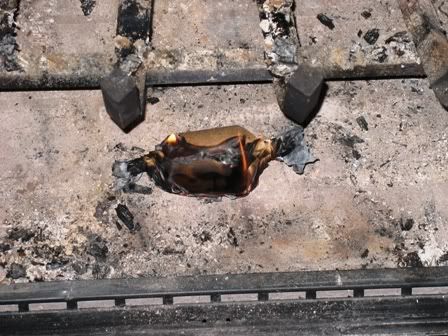
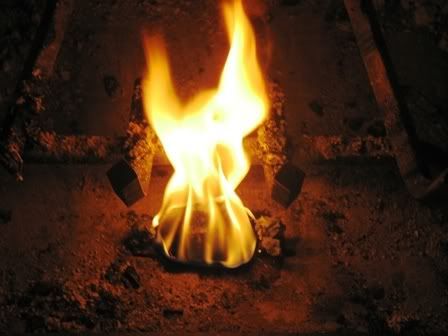
7) Now when you’re ready to get a fire going just drop one of these below the wood pile. Light both ends and the center and it should burn for 15 minutes or more – plenty of time to get the fire going!
-- Tim D. - Woodstock, GA


